Showing posts with label Mopeds. Show all posts
The Paragon...
Here is a sneak preview of what I was doing in the few moments I wasn't working on my thesis this semester. MLM's Devin Biek and I have set out to design and build a custom moped frame from the 19" wheels and swing-arm up to the polished aluminum tank and seat. Oh, and the pedal shaft... Our inspiration comes from 60's & 70's 50cc GP racers with a flavour of 20's and 30's record breakers. Don't mind those EBR's they're just on there for the mock up. More to come in good time...
Design Precedents:
Early Triumph racers
'65 Honda 50cc GP racer
The 1937 Excelsior "Manxman"
Italian 50cc racers
The famous supercharged Zenith "Super Kim"
60's Minarelli 50cc GP racer
Ivan Wicksteed's Brooklands record breaking supercharged Triumph Speed Twin
60's & 70's GP racers
Harley Davidson board track racers
I love this shot. And those handlebars...
Moped vs. Pitbike
Not so good on the turns, but Devin's carefully built and tuned setup put out more power than the motorcycle. Isn't this track fantastic? I can't help but compare it to a sort of Brooklands for mopeds.
Variator Tuning
As I described earlier, the Shanghai Shuttle can't quite hit the power band of the new pipe. This is because the variator is opening too quickly, making the gear ratio too tall to allow the bike to get into the pipe's power band. In order for the bike to hit the power band in the highest gear ratio of the variator, the variator must gradually open throughout the range of the power band.

A variator works on the principal of centrifugal force. As the rpm of the crank (and thereby the variator) increase, three weights (in a Honda Hobbit) are forced apart on ramps which in turn force the variator to close. As the variator closes, the belt running between the two angled plates is forced further out on the pulley. This changes the gearing of the bike from short to tall, or from low to high.
The picture on the right shows the variator in the closed position during high rpms. Notice how the rear variator, described in the picture as the "driven pulley," is open. This variator does not contain weights but rather a spring which is tuned to take up the slack of the front variator or "drive pulley". The benefit of a variator is that you essentially have an infinite number of gears between low and high gear which means, on a well tuned bike, maximum torque throughout; from low to high end.
However, if a) the variator closes too quickly the bike will drop out of the power band and be unable to reach maximum rpms, or b) the variator changes too slowly the power band can only take place within a limited range of the variator, meaning that you could top out well below your top gear.
The solution to this is to tune the variator to close later by lightening the weights in the front variator or by putting a stronger spring in the rear variator. If done correctly not only will you shift later, but the shift or variation will occur over a much wider range. Today I started by lightening the weights. There are three weights in a Hobbit variator. I weighed each of them on a triple beam and the average was about 14.8 grams. I found a drill bit that looked about right and drilled out the center of each weight taking off approximately 5 grams.
The disassembled variator with a weight on the scale.
Drilling out the weight
A comparison of the weights before and after lightening.
With the freshly tuned variator back on the bike there was a noticeable difference. The variator opened much more gradually and wound up into the beginning of the power band at around 35 mph, but once again, shifted too soon to carry the bike through the variator while in the power band. As the picture above shows, there isn't enough material to take out any more weight. The next option is to either find lighter aftermarket weights, or even better, to find a stiffer rear variator spring to keep the variator from closing so soon. The good news is that there was a definite improvement, and there is plenty of room for more modification. Upgrading to a larger and more tunable carb will also really help. I took the bike out today for a trial run, and even without hitting the power band I was able to make high forties. On the downhills I could get into the power band and that was fun. It will be interesting to see how this Cali pipe performs on a variated bike once it's dialed in.
Variator images courtesy Just Gotta Scoot.
Red Bull Alpenbrevet!?
Yes, there have been a lot of moped posts lately, but I can't not post this: The Red Bull Alpenbrevet, a race through the Swiss Alps on mopeds... No, this is not a joke. The Team America Blog.
MLM Performance Exhaust
I made a post earlier about MLM performance expansion chamber exhausts, and another about how they work. I just got mine back from the welder last night (our welder apparently does pretty good work even after 12 beers) and bolted it up. My variator is opening way too soon for the bike to hit the pipe's power band and it feels like I am running a bit rich. I will either drill out the variator weights I have, or get some lighter ones so that the variator will open at more like thirty or thirty-five miles an hour and not fifteen or twenty like it is now. Nonetheless, I can feel the pipe wanting to hit the power band; it just doesn't have the rpm's. I have more pictures of the details such as the header flange I fabricated and the rear hanger, but in the meantime, here are some pictures of the basic process:
Pieces of laser-cut 18 gauge steel ready to be rolled into the cones of the "Cali" and "RevRun" pipes.
Devin can usually get about fifty cones out of a single sheet of steel. When we get the stacks of oddly shaped steel back we take them to various conical jigs made of either maple or steel, depending on the curvature and tightness of the cone, and basically beat them into shape with rubber mallets. It took me about a week to finally begin to understand how the metal would react to the impact and where exactly to direct the force of the blow.
The rolled cones ready for welding.
After the cones are rolled we send them off to the welder who welds the ends together. Then we take them back to the jigs and true them up to fit together perfectly and then tack-weld them together creating the basic form of the exhaust. At this point they are nothing more than five variously shaped cones tacked together.
What happens if your hit your hand and not the sheet metal when rolling the cones...
Then it is back off to the welder for the whole pipe to be welded up. When we get it back we then mock it up to a bike (in this case a Honda Hobbit) making sure that the header clears the center-stand and provides a clear flow of gases from the cylinder through the chamber. We also tack the hanger and perforated tube in the appropriate position. Then it goes back to the welder again.
Here is the pipe getting the rear hanger, header flange, and silencer welded in place.
Jim, the welder TIG welding my pipe while smoking a cigar after a twelve pack of Mich Lite.
He warned me that his welding might not be up to par, but I told him I had complete faith in his abilities (which I do) and he didn't let me down.
Here is my old stock exhaust. It is the little box down there under the magneto.
And here is the bike with the new pipe...
I have yet to see how and where the pipe hits the power band, but the sound of the pipe is amazing. It is surprisingly quiet; barely louder at idle than the super-silent stock exhaust, but when you open it up it really sounds good, with a wonderful purr when you let off the gas. The bike is already going a bit faster than stock, even without hitting the power band. The pipe should clear the side cover once I work with it a bit. More updates to follow...
Hobbit Performance Exhaust
Just got finished mocking up one of the MLM "Cali" pipes I built with Devin to my Honda Hobbit yesterday. I fashioned my own header flange (who needs machinists anyway?) and figured out a rather ingenious rear hanger supported of the bottom of the sub-frame. Pictures to follow.
In the meantime here she is:
Since this photograph was taken I have mounted the old headlight off my Puchavus to the front forks, installed a different carb and purchased the 21mm intake for the bigger 21mm PHBG I will be getting to go along with the new pipe. Lets just hope the Chinese clone bottom end I'm running holds out...
Whiskey Business 3
Our trailer minus suspension and with chunks out of the tire:
Motion Left camper in Louisville
Rally point on the long ride:
Idling on Story Avenue
After the long ride:
The Bandits raffle bike
...And its happy winner, Bengry from the Guns.
Long exposure shot of the fireworks over Louisville during Thunder, which I still done't quite understand...
Nate Bandit Welding a scissor jack onto our axle; it worked great all the way back to Goshen!
Max Mojo's loaner after he T-boned a car that cut him off; one of three bad accidents of the rally. Amazingly he was walking around the next day.
Blk Blk's bikes...
Some of the more interesting bikes of the rally:
Briton Bee's Modified Pinto frame with 15mm Bing, 65cc Polini and Motion Left Pipe hit 61mph a week before the rally:
Briton Bee's completely custom Gitane w/Motion Left Pipe

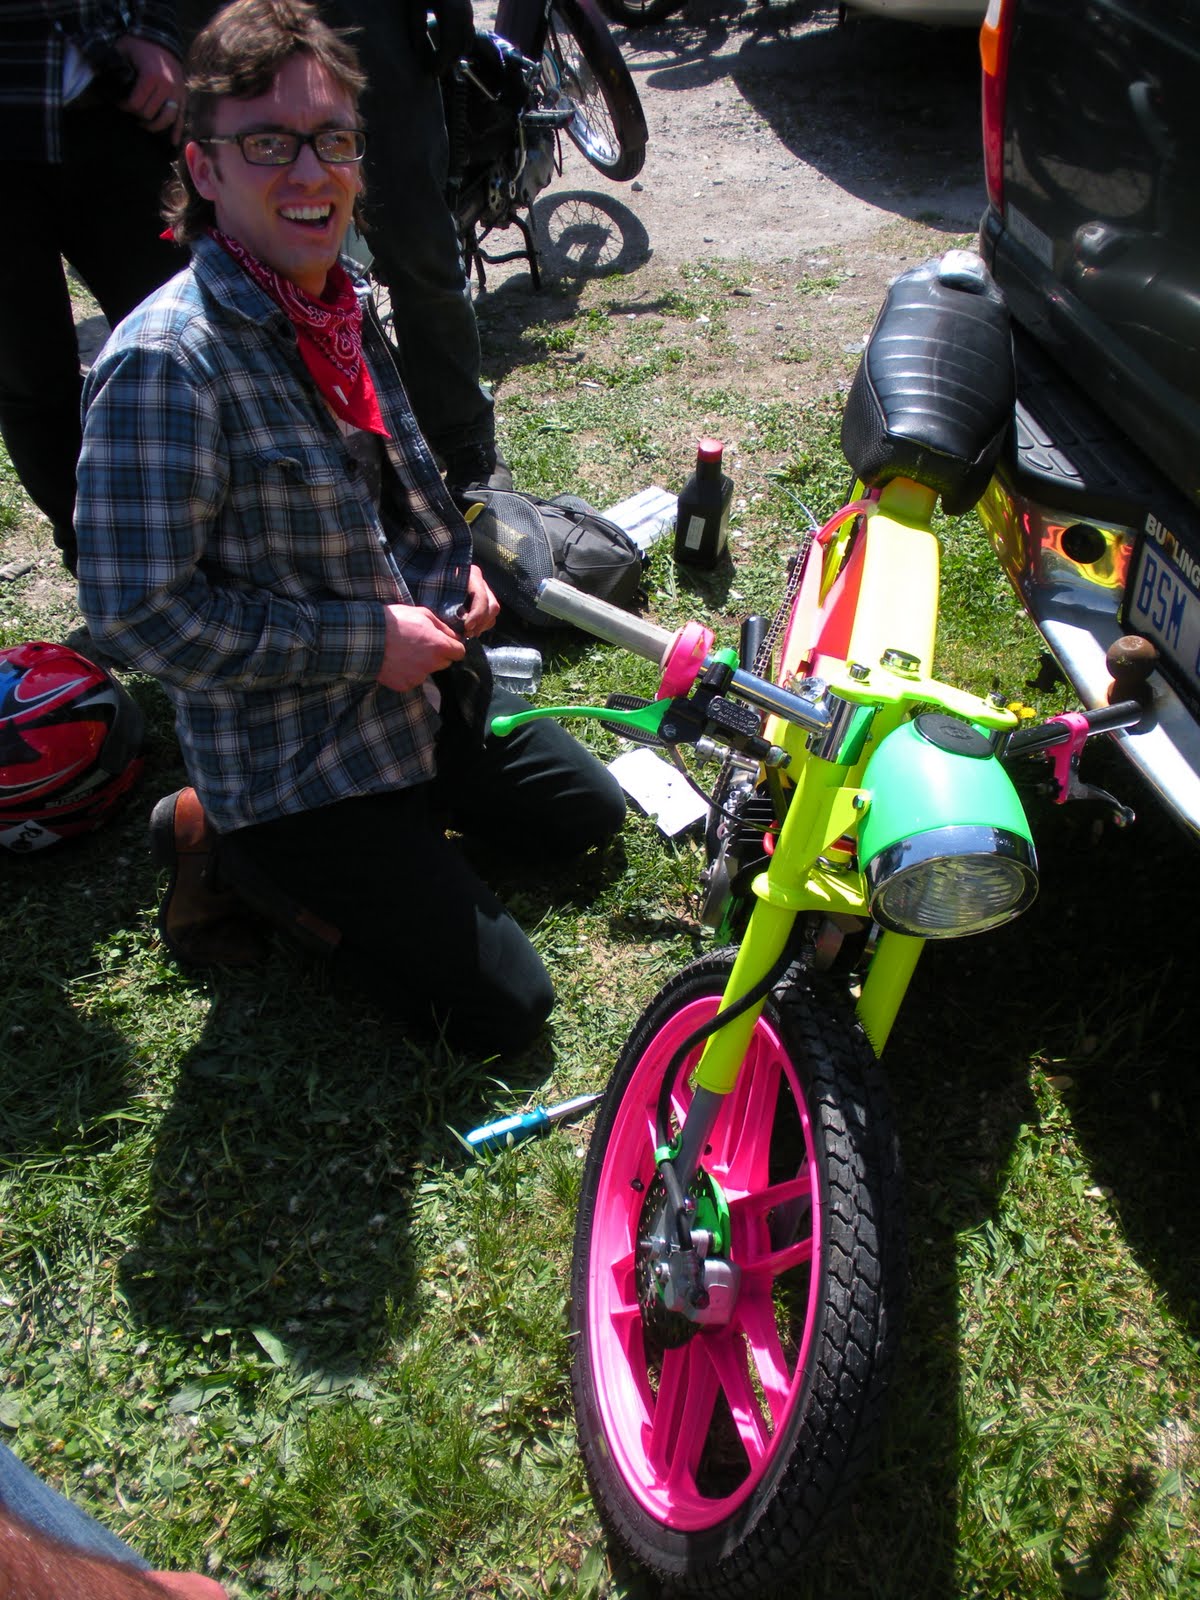
Internette, Julian's amazing neon pink and yellow powder-coated Motobecane/Honda
Hobbits were out in full force led by the Hobbit evangelist Peter, now of the Guns.
Motobecane with matching knee guards:
The infamous reverse triped:
More triped fun:
Shaw-built maxi with exhaust pipe crossbar:
And my favorite bike of the weekend belonging to one of the Hot'n Readys
Subscribe to:
Posts (Atom)


l